Move Cuts Between Mats In Cricut Design Space

How To Rearrange Mats In Cricut Design Space Cricut Design Cricut Cricut Mat

Keep Your Design In The Same Spot In Cricut Design Space Cricut Cricut Cuttlebug Cricut Design

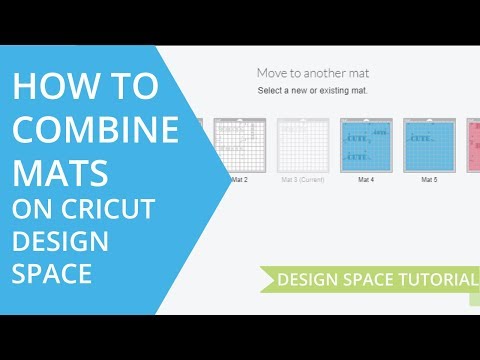
How To Combine Mats On Cricut Design Space Cricut Design Cricut Cricut Tutorials

Pin On Cricut
Combining Mats In Cricut Design Space How To Move Designs On Mats How To Combine Two Mats Youtube

How To Lock Image Positions In Cricut Design Space How To Heat Press Cricut Business Tutorial Cricut Tutorials

Select your design drag and drop to move select the design you want to move.
Move cuts between mats in cricut design space.

How To Hide And Move Images In Design Space Design Cricut Design Image Design

Easily Upload Svg S Into Cricut Design Space Cricut Design Cricut Tutorials Cricut Projects Vinyl

Pin On Cricut

How To Rearrange Mats In Cricut Design Space Rearrange Cricut Design Cricut
Source : pinterest.com
